.png)



Property Damage Before the Adjuster Arrives Meta Description: Learn how to document property damage for an insurance adjuster with a clear, room-by-room checklist for Southern Maryland homeowners. Image File Name: document-property-damage-insurance-adjuster.jpg Schema
How to Document Property Damage for an Insurance Adjuster Before They Arrive
If your home was just hit by a storm, a fire, or a burst pipe, you are probably standing in the middle of a mess wondering what to do first. The damage is real, the stress is real, and somewhere in the back of your mind you know an insurance adjuster is going to show up and ask questions. Getting your documentation right before that visit can shape how smoothly your claim moves forward.
Jenkins Restoration and Remodel has spent over 50 years helping Southern Maryland homeowners through exactly this moment, from Hughesville to Prince George's County and Anne Arundel County. That kind of hands-on experience with insurance claims means knowing what adjusters look for and what homeowners often miss when they are overwhelmed and moving fast.
In this guide, you'll learn a room-by-room approach to documenting property damage for an insurance adjuster, including photos, video, written logs, and how to prepare for the inspection. Keep reading, and you will know exactly what to do next, one step at a time.
Protect People and Preserve the Scene First
Before you pick up a camera, make sure everyone in the home is safe, and the immediate danger has passed. Documentation matters, but physical safety always comes first.
When to Call for Emergency Help Before Documenting Damage
Some damage requires professional attention before you do anything else. If you smell gas, see sparking wires, notice sagging ceilings or floors, or have standing water in your basement near an electrical panel, stop and call for help first.
Fire damage almost always requires a call to the fire department to confirm the structure is safe to re-enter. Storm damage that has exposed your roof deck or knocked down power lines means staying clear until utility crews clear the area. No photo is worth an injury.
What You Can Do to Limit Further Damage
Most insurance policies expect homeowners to take reasonable steps to prevent damage from getting worse, and doing so protects your claim rather than hurting it. This is often called mitigation, and it is different from full cleanup.
Reasonable steps include:
- Covering a damaged roof section with a tarp to stop rain from entering
- Shutting off the water main if a pipe has burst
- Boarding up broken windows or doors
- Moving undamaged furniture or belongings away from wet or fire-affected areas
- Setting up fans or a dehumidifier to slow water damage before help arrives
Keep any receipts from tarps, plywood, or emergency plumbing repairs. Insurers typically reimburse reasonable mitigation costs, which ties directly to the documentation habits covered later in this guide.
Why You Should Not Throw Away Damaged Materials Yet
Damaged materials are evidence, and tossing them out too early can weaken your claim. Wet carpet, burned drywall, and cracked siding panels all tell the adjuster something about how the damage happened and how severe it was.
Set damaged items aside in a garage, shed, or covered area outside if you need them out of the living space. Wait until the adjuster has inspected the property, or until your restoration contractor confirms it is safe to dispose of them. This single habit of preserving the scene sets up everything you photograph next.
Create a Complete Photo and Video Record
Photos and video are the backbone of any strong claim, and the goal is to capture more than the damage itself. You want the adjuster to see the full picture of what changed in your home and how it happened.
How to Photograph Each Damaged Room
Work through your home room by room, and treat each one the same way. Start with a wide shot from the doorway, then move closer to capture detail, and finish with tight close-ups of the worst spots.
For each affected room, try to capture:
- One wide shot showing the entire room and how the damage sits within it
- Medium shots of each wall, the ceiling, and the floor
- Close-up shots of cracks, stains, char marks, or warping
- Photos of doors, windows, trim, and built-ins if they were affected
- A shot of the room number or a sticky note label if you are documenting many rooms
This method gives the adjuster context they cannot get from a single close-up photo. It also protects you later if there is ever a question about where a specific photo was taken.
What to Capture Outside After Wind, Hail, or Storm Damage
Exterior damage needs its own systematic pass, especially after wind or hail events common in Southern Maryland storms. Walk the full perimeter of your home and photograph each side separately, not just the side that looks the worst.
Focus on:
- Roof damage from the ground, including missing shingles, dented vents, or exposed decking
- Siding dents, cracks, or pieces that have come loose
- Gutters and downspouts that are bent, detached, or full of debris
- Damaged fencing, sheds, decks, or outdoor structures
- Fallen tree limbs or debris that caused impact damage
If it is safe, photograph hail damage on a flat, less visible surface like an air conditioning unit or mailbox, since these often show impact marks clearly without needing a ladder.
How to Show Water, Smoke, and Structural Damage Clearly
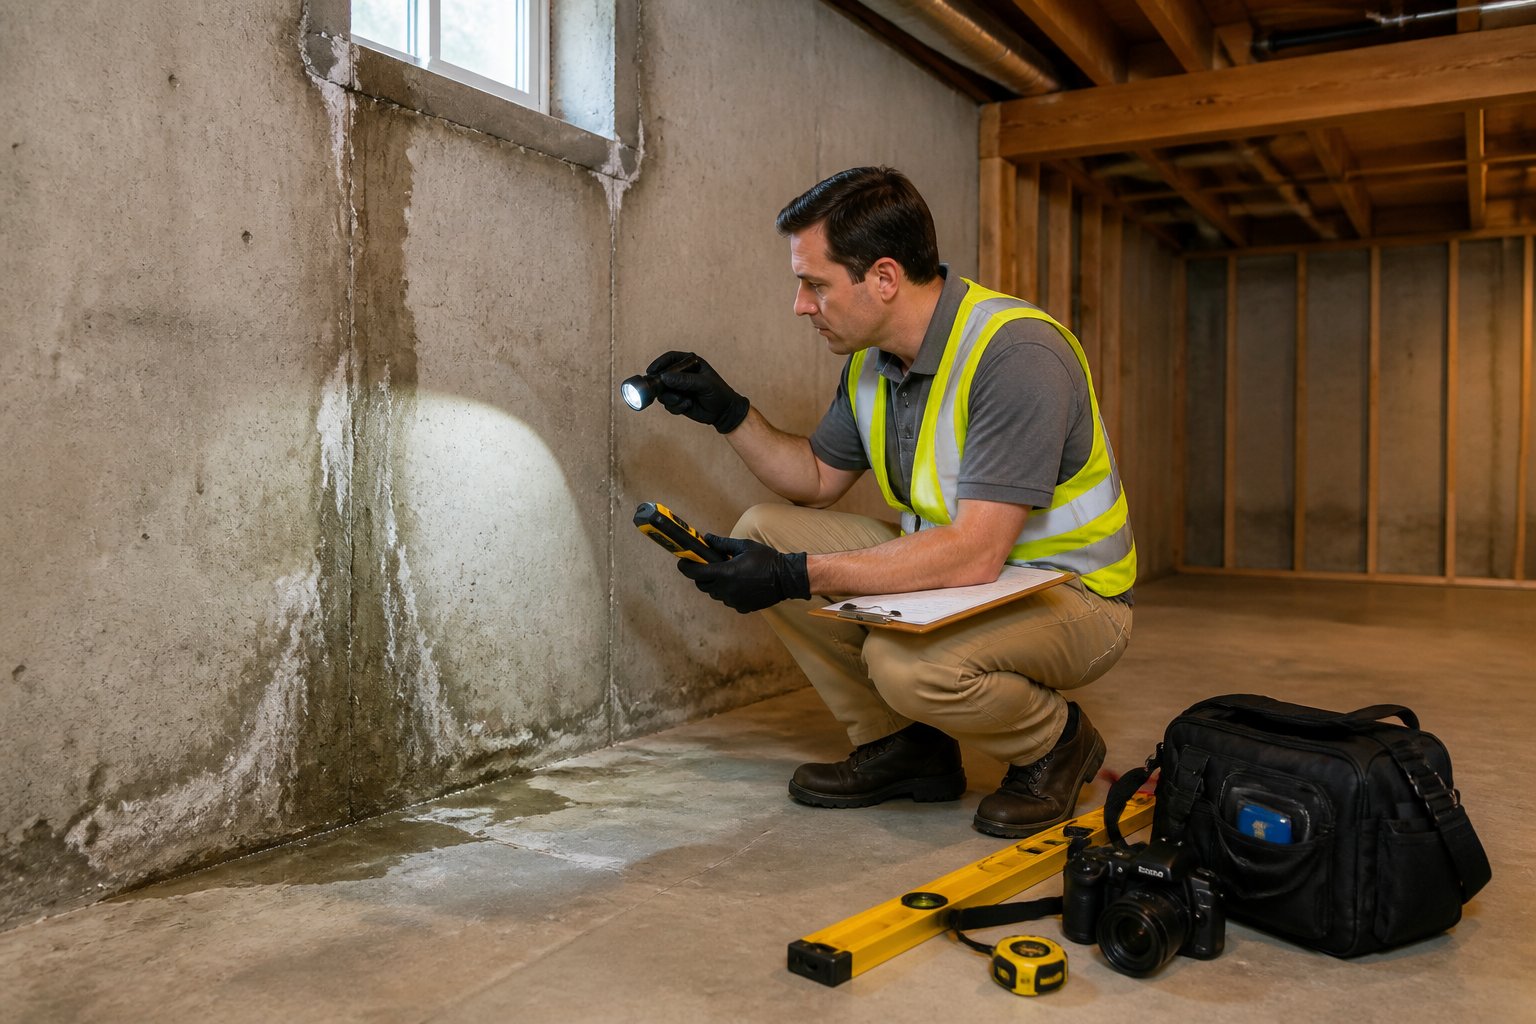
Water, smoke, and structural damage each leave different visual signs, and your photos should highlight what makes each one distinct. Water damage often shows as staining, warping, or a visible waterline on walls and baseboards.
Smoke damage often shows as soot streaking near ceilings, discoloration around vents, or a haze on painted surfaces. Structural damage might include cracked foundations, sagging floors, or gaps where framing has shifted. In every case, photograph the damage in normal lighting and again with a flash or additional light source, since some staining and soot patterns are easy to miss in dim rooms.
Use Measurements and Scale References in Your Images
Adjusters need to understand size, not just presence, and a photo without scale can undersell real damage. Place a tape measure, a ruler, or even a common object like a soda can next to cracks, holes, or stains before photographing them.
For larger areas, like a section of damaged flooring or a collapsed section of ceiling, measure the length and width and say the numbers out loud while filming a video walkthrough. This single habit, adding scale to your images, is one of the details that separates a documentation file that gets questioned from one that moves through review smoothly.
Build a Written Damage Log and Home Inventory
Photos show what happened, but a written log explains when, how, and how much. Adjusters rely on both pieces working together.
Record When the Damage Happened and What Caused It
Write down the date and approximate time the damage occurred, along with what caused it, as soon as you can remember the details clearly. Memory fades fast after a stressful event, so do this the same day if possible.
Include short notes like "storm passed through around 3 p.m., heard a loud crack, found a tree limb through the roof by 3:30 p.m." This kind of timestamped account gives your claim a clear timeline that matches weather reports, fire department records, or plumbing repair logs.
List Damaged Belongings by Room
A written inventory of damaged belongings supports your photos and gives the adjuster a document they can reference without replaying video. Go room by room and list each item, along with its approximate age and condition before the damage.
A simple inventory entry might include:
- Item name and brief description
- Approximate purchase date or age
- Estimated replacement cost, if known
- Whether the item was destroyed, damaged, or unaffected
Building this kind of inventory works just as well after a loss as it does as a preventive habit before one, and it gives your adjuster something concrete to work from either way.
Save Receipts, Estimates, and Temporary Repair Records
Every receipt tells part of your story, so keep a folder, physical or digital, for anything tied to the damage or its aftermath. This includes purchase receipts for damaged belongings if you can find them, repair estimates from contractors, and bills for temporary fixes like tarping or emergency plumbing work.
Water damage and freezing alone accounted for 22.6 percent of homeowners insurance losses by cause in 2023, according to the Insurance Information Institute, so adjusters are used to reviewing detailed repair estimates tied to this kind of damage. Organized records make that review faster on both sides.
Keep a Communication Log for Your Claim
Write a short note for every phone call, email, and text with your insurance company. Record the date, who you spoke with, and what was discussed or promised.
This log becomes valuable if there is ever confusion about what was said or agreed to during the claims process. It also gives you a quick reference when you sit down for the adjuster inspection, where all this preparation starts to pay off.
Prepare for the Adjuster's Inspection and Follow Up
Walking into the inspection organized changes how the visit goes. Adjusters move faster and see more clearly when a homeowner hands them a clean, complete file instead of a pile of loose photos.
Organize Your Claim File Before the Visit
Gather everything into one folder or digital file before the adjuster arrives, sorted logically by room or by category. Include your photos, video walkthrough, written damage log, home inventory, and any receipts or repair estimates you have collected so far.
A well-organized file shows you take the claim seriously and gives the adjuster a clear starting point. Homeowners who document damage thoroughly and gather key paperwork ahead of time tend to move through the inspection more efficiently, since the adjuster spends less time asking follow-up questions and more time confirming what's already in front of them.
How to Walk Through Damage With the Adjuster
Walk the property with the adjuster in person whenever possible, pointing out each area of damage rather than letting them find it on their own. Bring your photo and video record along so you can reference specific shots if something looks different by the time they arrive.
During the walkthrough:
- Point out damage that may not be visible at first glance, like moisture behind baseboards or cracked framing
- Mention any temporary repairs you made and when you made them
- Share your written damage log and inventory
- Ask questions about what happens next and when you can expect a response
Damage that goes unnoticed during this visit can be difficult to add to the claim later, so a thorough walkthrough protects you far more than a quiet one.
What to Do If You Find Additional Damage Later
Hidden damage often surfaces once repairs begin, especially behind walls, under flooring, or inside ceilings. If this happens, photograph the new area immediately and write down the exact date you discovered it.
Contact your insurance company to file a supplemental claim, and include your new photos and a contractor's assessment, if you have one. This is common with water and fire damage, where full damage often doesn't become visible until crews start restoration work, and it is part of why many Southern Maryland homeowners choose a contractor who can guide them through both the repair and insurance side of the process.
A Clear Record Helps You Move Forward With Confidence
A complete, organized documentation file gives you leverage during the claims process and a clear starting point for repairs. Every photo, log entry, and receipt you gather works together to tell an accurate story of what happened to your home.
This kind of preparation also reduces the back-and-forth that can drag a claim out for weeks. When your file answers questions before they are asked, adjusters can process your claim with fewer delays and fewer requests for additional proof.
None of this replaces professional help when the damage is significant. A contractor experienced in both restoration and insurance claims can walk your property with you, point out damage you might miss, and help translate what you have documented into a repair plan that holds up under review.
Call Jenkins Restoration and Remodel today to schedule a consultation and get a documented starting point you can bring straight to your adjuster.
Frequently Asked Questions
Should I clean up property damage before the insurance adjuster arrives?
Avoid major cleanup until after the adjuster has inspected the property, since removing debris or damaged materials too early can weaken your evidence. You can still take reasonable steps to prevent further damage, like tarping a roof or shutting off the water, and you should document and photograph those actions as you go.
What photos should I take for a storm damage insurance claim?
Take wide shots of each affected room and each side of your home's exterior, then move in for medium and close-up shots of specific damage like cracked siding, missing shingles, or broken windows. Include a scale reference like a tape measure in close-up shots so the adjuster can judge the size of the damage accurately.
How do I document water damage that is hidden behind walls or under flooring?
Photograph visible signs like staining, warping, or bubbling paint, and note any musty smells or soft spots you notice when pressing on walls or floors. If you suspect hidden moisture, a restoration contractor can use moisture meters to confirm the extent of the damage, and those findings should be added to your claim file as soon as they are available.
Should I be present when the insurance adjuster inspects my home?
Being present during the inspection lets you point out damage directly and answer questions on the spot, which often leads to a more accurate assessment. Bring your photo and video documentation along so you can reference specific areas if the adjuster has questions about timing or cause.
What should I do if I discover more damage after the adjuster's visit?
Photograph the newly discovered damage right away and write down the date you found it, then contact your insurance company to file a supplemental claim. Include your new photos and, if possible, a written assessment from a contractor to support the additional damage you are reporting