
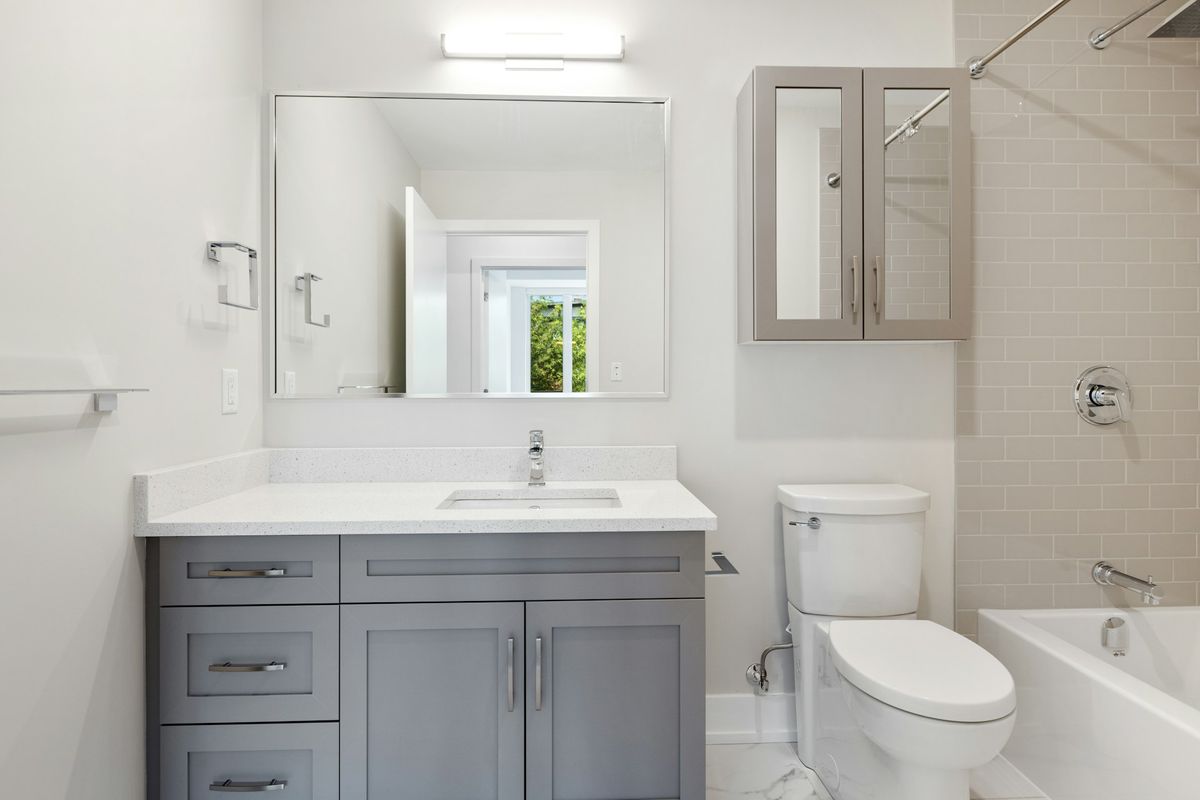
Bathroom Restoration: Fix Hidden Water Damage Before Remodeling
Jenkins Restoration and Remodel
You pull up a corner of your bathroom floor to peek underneath before starting your remodel, and what you find stops you cold. The subfloor is soft and dark, and it smells like something has been sitting wet for months. You had no idea. The tile looked fine. The walls looked fine. And yet the damage was already spreading quietly out of sight.
Hidden water damage is one of the most common reasons bathroom remodels fail or cost far more than planned. For Southern Maryland homeowners in Prince George's County and Anne Arundel County, this scenario plays out more often than you might think, especially in older homes where moisture has had years to seep through grout, caulk, and flashing.
Keep reading to learn how to recognize signs of water damage before your remodel begins, why the restoration sequence matters, and what a professional assessment should uncover. This guide gives you an honest look at what bathroom restoration entails, so you can move forward with confidence rather than discovering surprises mid-project.
What Water Damage in a Bathroom Often Looks Like
Water damage rarely announces itself all at once. It tends to show up gradually, in ways that are easy to dismiss as normal wear.
Soft or Spongy Flooring
If the floor near your toilet, tub, or shower gives slightly when you step on it, that is not normal settling. A spongy or soft spot underfoot usually means moisture has reached the subfloor and begun to break down the wood fibers. Once that process starts, it spreads. The longer it goes unaddressed, the more subfloor area becomes involved, which directly affects the cost and scope of any future repair.
You might also notice tiles that shift, creak, or feel loose at the edges. Grout lines that crack repeatedly in the same spots are another clue. These are signs that the surface layer is no longer sitting on a stable foundation.
Wall Stains and Peeling Finishes
Paint that bubbles, peels, or shows yellow or brown staining is telling you something is wrong behind the surface. Water migrates through drywall and leaves mineral deposits as it dries, which is what creates those discolored rings or patches. Repainting over them will not fix what is underneath.
Pay close attention to the wall area around the base of the tub, behind the toilet, and along the lower section of your vanity. These are the spots where splashes, slow leaks, and failed caulk tend to do the most damage over time.
Warped Trim and Swollen Vanity Areas
Wood trim and cabinet bases swell when they absorb moisture over time. If your vanity kickboard looks bowed, your door trim is separating from the wall, or your baseboard has a gap that was not there before, moisture is likely the cause. These clues are easy to overlook because they tend to develop slowly.
Swelling and warping that seem minor on the surface often indicate more significant saturation in the wall cavity or beneath the floor. What is visible is usually the smaller part of the problem.
Musty Odors and Visible Mold Clues
A persistent musty smell in a bathroom that stays even after cleaning is one of the clearest indicators of hidden moisture. Mold growth in grout lines or along caulk seams is a surface signal, but mold often exists deeper inside walls and under flooring long before it becomes visible at the surface.
Spotting mold in one place does not mean the damage is limited to that spot. Mold follows moisture, and moisture travels. That pattern becomes very important once you understand why cosmetic updates cannot come first.
Why Cosmetic Updates Cannot Come First
New tile, fresh paint, and a modern vanity are appealing, but they do nothing to address the structural issues. Cosmetic updates installed over existing water damage will fail, sometimes within months.
How Moisture Damages Subfloors and Framing
When water reaches a wood subfloor, it begins to soften and weaken the material. Over time, repeated exposure to moisture causes wood to rot. The framing studs behind your shower walls face the same risk, especially at the base, where water tends to pool or wick down from a leaking supply line or a failing waterproofing membrane.
Rotted framing cannot support tile or heavy fixtures the way it should. If you install a new shower surround or floor tile over compromised framing, the finished surface will crack, shift, and fail. At that point, you are back to demolition, except now you have also lost the cost of the new materials.
Why Mold Concerns Change the Project Scope
Mold remediation is licensed work. It requires containment, proper disposal of affected materials, and, in many cases, air quality testing before a space can be closed up again. This is not a step to skip or shortcut. If mold is confirmed during demolition, the project scope must be expanded to fully address it before any new construction begins.
This is why knowing what is behind your walls before you purchase fixtures or schedule installation matters. A professional assessment can flag mold concerns early, keeping the project on track rather than stopping it midstream.
What Happens When Damage Is Covered Up
Covering water-damaged materials with new finishes traps moisture inside the wall or floor assembly. That moisture continues to feed mold growth and material decay in an enclosed space, significantly accelerating the damage. By the time the problem resurfaces, it is often far more extensive than it would have been if addressed at the outset.
Homeowners who skip this step often find themselves doing the same bathroom project twice. The second time costs more, takes longer, and is far more disruptive. Knowing what a proper professional assessment covers helps you avoid that outcome entirely.
What a Professional Assessment Should Uncover
A thorough assessment does more than confirm what you can already see. It identifies where moisture is hiding and how far it has traveled.
Moisture Mapping Behind Tile and Walls
Professionals use moisture meters and thermal imaging to detect wet zones behind tile and inside wall cavities without tearing everything apart upfront. This gives a clear picture of the damage boundary before demolition begins. It also prevents unnecessary removal of materials that are still sound.
Moisture mapping is particularly useful in bathrooms where the shower or tub surround is tiled to the ceiling. Water can travel several feet from the original leak source, and without this step, the full extent of the damage is often underestimated.
Subfloor Stability and Structural Concerns
The assessment should include a direct evaluation of subfloor integrity, checking for softness, discoloration, and any signs of rot. In older homes across Southern Maryland, it is not uncommon to find that a slow toilet leak or years of inadequate caulking have compromised a larger section of subfloor than the visual signs suggested.
If structural framing is affected, that needs to be documented and addressed before any finish work begins. This is not optional; it is foundational to a remodel that will last.
Plumbing Leak Sources and Ventilation Problems
Many water damage cases trace back to a supply line fitting that has been weeping slowly, a wax ring that has failed, or a drain connection that has never been watertight. A proper assessment identifies the source, not just the symptom. Replacing materials without fixing the source of the leak means the damage will return.
Poor ventilation is a separate but related issue. Bathrooms without adequate exhaust airflow accumulate humidity that eventually saturates walls and ceilings. Addressing ventilation as part of the restoration plan protects the new work in the long term.
Insurance-Related Documentation When Damage Applies
When water damage results from a covered event, such as a burst pipe or storm-related intrusion, thorough photo documentation and written assessment reports become part of your insurance claim file.
Clear records of moisture mapping results, affected square footage, and structural findings support a more accurate claim settlement. Working with a contractor who understands this documentation process from the start reduces delays and missing information later in the claim process.
How Restoration and Renovation Are Sequenced
Getting the sequence right is what separates a bathroom project that holds up for twenty years from one that fails in two.
Stopping the Source of Moisture
Before any damaged material is removed, the water source must be identified and stopped. This might mean replacing a supply line, resealing a drain, repairing flashing around a tub or shower, or fixing a ventilation issue that has been contributing to chronic humidity. Until the source is gone, repairs are temporary.
Removing Damaged Materials Safely
Demolition in a bathroom with confirmed water damage or mold requires careful removal to prevent the spread of contamination. Affected drywall, insulation, and flooring sections are bagged and removed in a controlled way. The goal is to expose only what is damaged, preserve what is sound, and leave the space clean and dry before any reconstruction begins.
Wet drywall and insulation must be removed completely
Rotted subfloor sections require full replacement, not patching
Tile over compromised backer board cannot simply be re-grouted
Any affected framing studs need to be assessed for replacement or reinforcement
Rebuilding the Bathroom from the Structure Out
Once the space is clean, dry, and structurally sound, rebuilding follows a specific order. Framing repairs come first, followed by rough plumbing and electrical work if the layout is changing, then waterproofing membranes, backer board, and finally finish materials. Each layer has to be complete and inspected before the next one goes in.
Skipping or rushing any step in this sequence creates the same conditions that caused the original damage. The rebuild phase is also when layout changes, fixture upgrades, and material selections get installed, which is what most homeowners think of as the remodel.
When Design Selections Usually Happen
Design decisions, including tile, fixtures, vanity, and lighting, are best finalized before demolition begins. That way, materials are ordered and ready when the rebuild phase begins, reducing delays. If the extent of damage requires layout changes, those conversations happen after the assessment confirms the structural picture.
Once you understand the sequencing of restoration versus renovation, the next step is choosing materials and finishes that will hold up over time.
Planning the Rebuild for Long-Term Performance
After the structural work is done, the rebuild is your opportunity to improve the bathroom in ways that prevent the same problems from recurring.
Choosing Durable Materials for Wet Areas
Material selection in a bathroom is directly tied to how the space holds up to daily moisture. The wrong choices in high-humidity areas create the same conditions that caused the original damage.
Strong options for wet zones include:
Large-format porcelain tile with minimal grout lines, which reduces moisture infiltration points
Cement backer board instead of standard drywall behind tile
Solid surface or quartz countertops that do not absorb water
PVC or solid wood vanity cabinets rather than particleboard construction
Exhaust fans rated for the room's square footage to manage humidity after every shower
Durable materials cost more upfront but reduce the likelihood of having to repeat this project within the next decade.
Improving Layout Without Ignoring Hidden Conditions
A bathroom restoration is a practical time to address layout inefficiencies you have always wanted to change, whether that is moving a vanity, enlarging a shower footprint, or improving storage. Those changes are easier and less expensive to execute when the walls and floors are already open.
That said, layout changes that involve moving plumbing or removing walls require professional planning and permits. In Prince George's County and Anne Arundel County, bathroom remodels that include plumbing relocation or structural changes typically require permits before work begins.
Setting Expectations for Budget and Timeline
A bathroom restoration followed by a full remodel involves more steps than a standard cosmetic update. Budgets should account for assessment costs, remediation if mold is confirmed, structural repairs, rough mechanical work, and finish materials. Each of those has a real cost, and skipping any one of them to save money up front typically ends up costing more later.
Timelines depend on the extent of the damage and the scope of the rebuild. A consultation with a contractor who handles both restoration and remodeling gives you a realistic picture before any work begins, rather than mid-project surprises.
Next Steps for Southern Maryland Homeowners
If you have spotted signs of water damage in your bathroom or you are planning a remodel and want to make sure the foundation is sound first, the next move is straightforward.
When To Schedule an Inspection
Schedule a professional assessment as soon as you notice soft flooring, persistent staining, or a musty odor that does not go away. Waiting does not reduce the damage. It gives moisture more time to spread into adjacent rooms, floor systems, or wall cavities.
If you experienced a plumbing event, a roof leak, or any water intrusion in the past, an inspection is wise even if visible signs are minimal. Some of the most significant subfloor damage found during bathroom projects in Southern Maryland traces back to events that happened years earlier with no obvious surface symptoms at the time.
Questions To Ask Before Work Begins
Going into a contractor conversation prepared helps you evaluate whether the team understands the full scope of the project. Ask:
Will the assessment include moisture mapping, not just a visual walkthrough?
Do you handle both the restoration phase and the remodel, or will I need to coordinate separate contractors?
How do you handle documentation if this involves an insurance claim?
What permits are required for this scope of work in my county?
What does the rebuild sequence look like, and when will I make design selections?
These questions help you understand whether a contractor is equipped to manage the full project from structural repair through finished renovation.
Frequently Asked Questions
How Much Should I Budget for Repairing Water Damage in a Bathroom Before Any Cosmetic Updates?
Water damage repair costs vary widely based on how far moisture has spread and whether mold remediation is required. Minor subfloor repairs in a small bathroom might run a few hundred dollars, while extensive structural and mold remediation work can reach several thousand before finish materials are purchased. A professional assessment is the only way to get an accurate number for your specific situation.
Can a Bathroom Be Refreshed for Under $3,000 Without Cutting Corners on Quality Craftsmanship?
A cosmetic refresh, including new paint, hardware, a basic vanity swap, and fresh caulk, can fall within that range in a bathroom without underlying damage. If water damage or structural issues are present, addressing them properly will add to the cost. Skipping those repairs to stay within a tight budget typically leads to a more expensive redo within a few years.
What's a Realistic Price Range for a Durable, Mid-Level Bathroom Update That Still Feels Polished?
A mid-level bathroom remodel in Southern Maryland that includes new tile, a quality vanity, updated fixtures, and proper waterproofing typically falls in the $8,000 to $20,000 range, depending on scope and whether structural repairs are needed. Costs shift based on bathroom size, material selections, and whether plumbing or layout changes are part of the plan. A consultation with a local contractor gives you a tailored estimate based on your actual space.
Which Materials Hold Up Best to Daily Moisture So I'm Not Dealing With Peeling Paint and Soft Drywall Again?
Porcelain tile, cement backer board, solid surface countertops, and moisture-resistant paint formulated for bathrooms all perform significantly better than standard materials in wet environments. Pairing durable finishes with a properly rated exhaust fan addresses both surface and air humidity, which cause long-term deterioration. These choices cost more upfront but extend the life of the remodel considerably.
How Long Does a Typical Bathroom Project Take from Demolition to a Finished, Usable Space?
A straightforward bathroom remodel without significant water damage typically takes three to six weeks from demolition through final installation. When restoration work is required first, including subfloor repair, mold remediation, or structural framing replacement, the timeline extends based on the scope of that work. Your contractor should be able to give you a clearer timeline after the assessment phase is complete.
What Should I Look for in a Locally Owned Contractor in Southern Maryland To Avoid Delays and Surprise Costs?
Look for a contractor who performs a thorough assessment before quoting, handles both restoration and remodeling under one team, and is familiar with permit requirements in your specific county.
Experience with water-damage documentation and insurance claims is a practical advantage when damage occurs. Clear communication throughout the project, from assessment through final walkthrough, is the best indicator of a team you can trust.
A Calm Path Forward is Closer than You Think
You do not have to figure out the restoration-versus-remodel question on your own. Jenkins Restoration and Remodel is a locally owned contractor serving Southern Maryland, including Prince George's County and Anne Arundel County, with more than 50 years of experience handling projects like this.
The team manages both the restoration work and the remodel as a single, coordinated project, which means one point of contact, one clear plan, and no gap between the repair and renovation phases. If your damage requires an insurance claim, the team helps you navigate the process, too.
Call today at (301) 884-6180 or schedule a free consultation to get a clear plan before any work begins.